In this post, I’ll share the easiest activities for developing fine motor skills with your preschooler at home. These activities are perfect for ages 2.5-4, though you’ll have to decide what’s appropriate for your particular child in terms of handling small pieces.
Strong fine motor muscles are important because they help kids be able to build stamina for writing. There’s no sense in having your young child “practice” writing activities to build stamina. (Of course they can play color and write if they want to… all my younger kids wanted to pretend to do schoolwork to imitate big kids.) BUT, fine motor strengthening activities are what will actually help little ones build the muscles for writing down the road.
After teaching 4 kids preschool at home, I have found that good pencil grip makes writing easier for the long term. While improper pencil grip won’t ruin your child by any means (see my firstborn… woops!), having strong fine motor skills will make those early academic writing experiences much more positive.
All of these activities are low prep or NO prep and they’re fun! So, it’s easy to incorporate them into your homeschooling preschool.
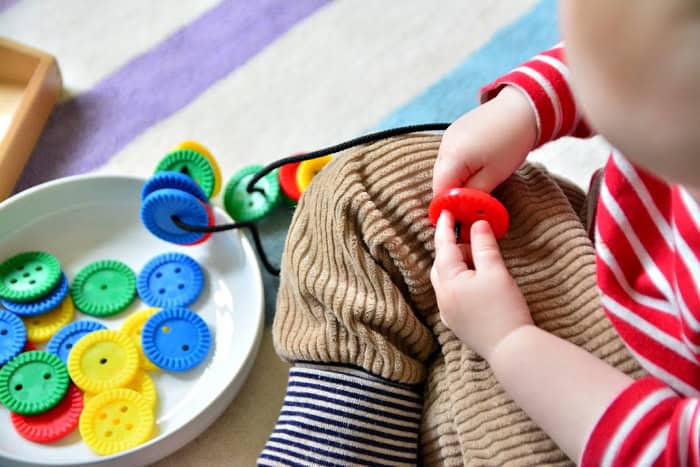
1. Stringing Beads
Use large beads and a string or pipe cleaners for threading.
2. Cutting With Scissors
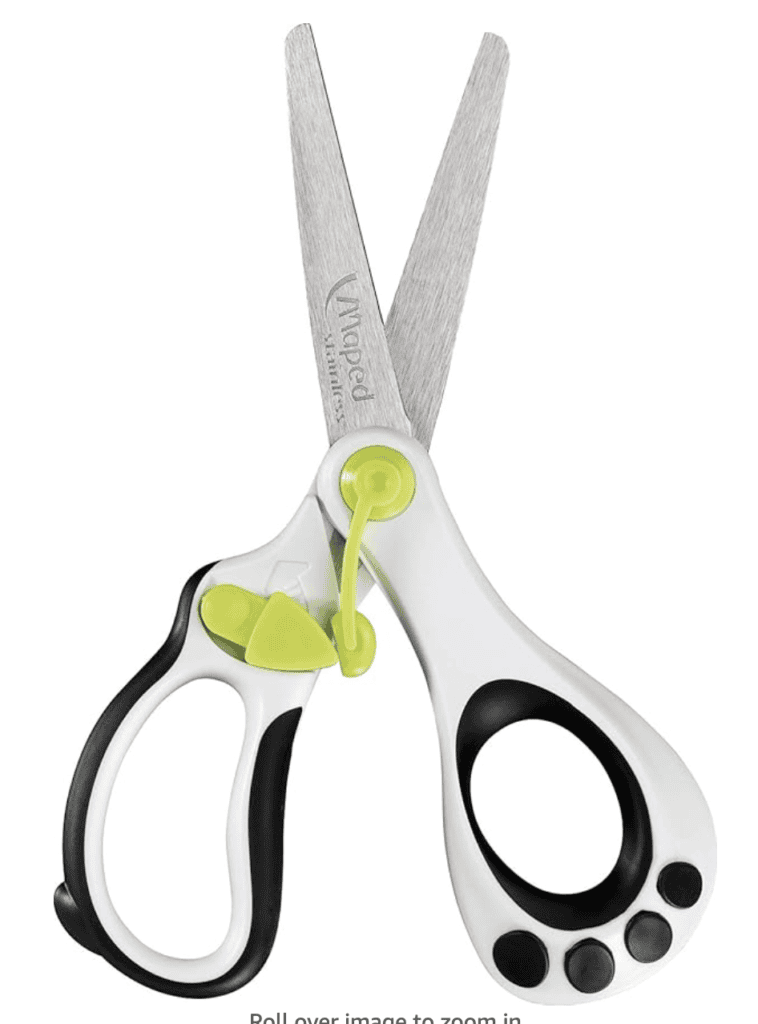
Provide child-safe scissors and encourage cutting along lines or shapes. These are our favorite preschool scissors for brand new cutters. Then, we switch to kid sized. My kids tend towards adult scissors pretty young, so just make a judgement call for your own family. Always teach kids how to carry scissors safely!
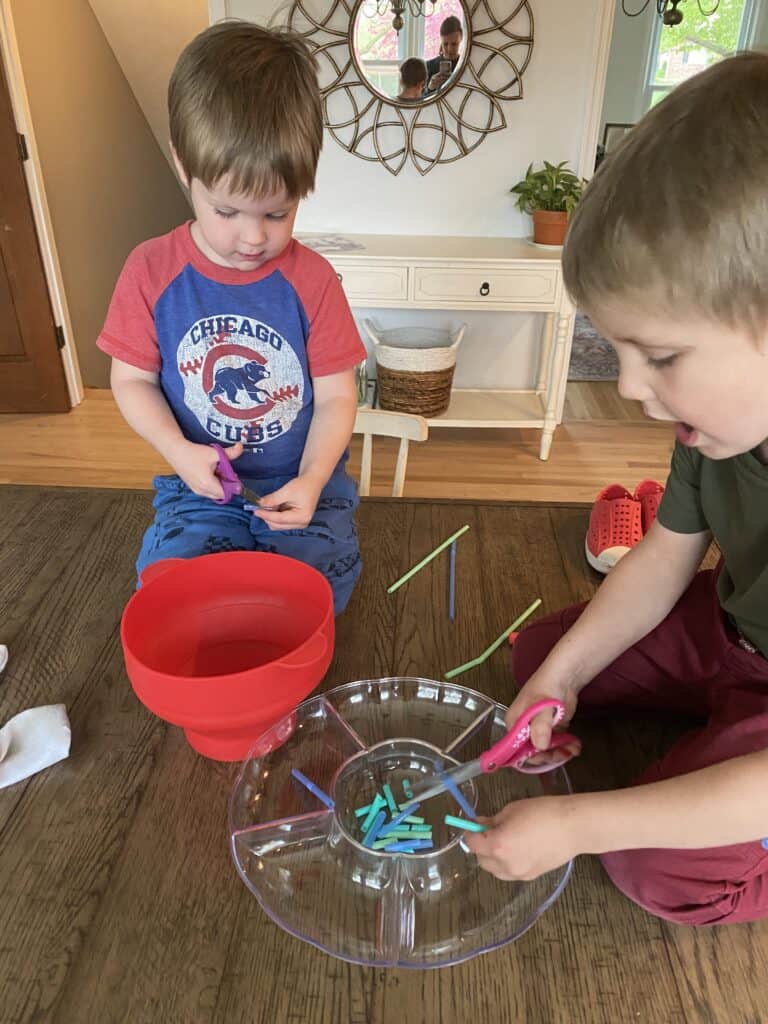
3. Cutting straws
Use safety scissors to cut colorful plastic straws into smaller pieces. Child can then try to thread them on to a shoelace or make patterns or designs.
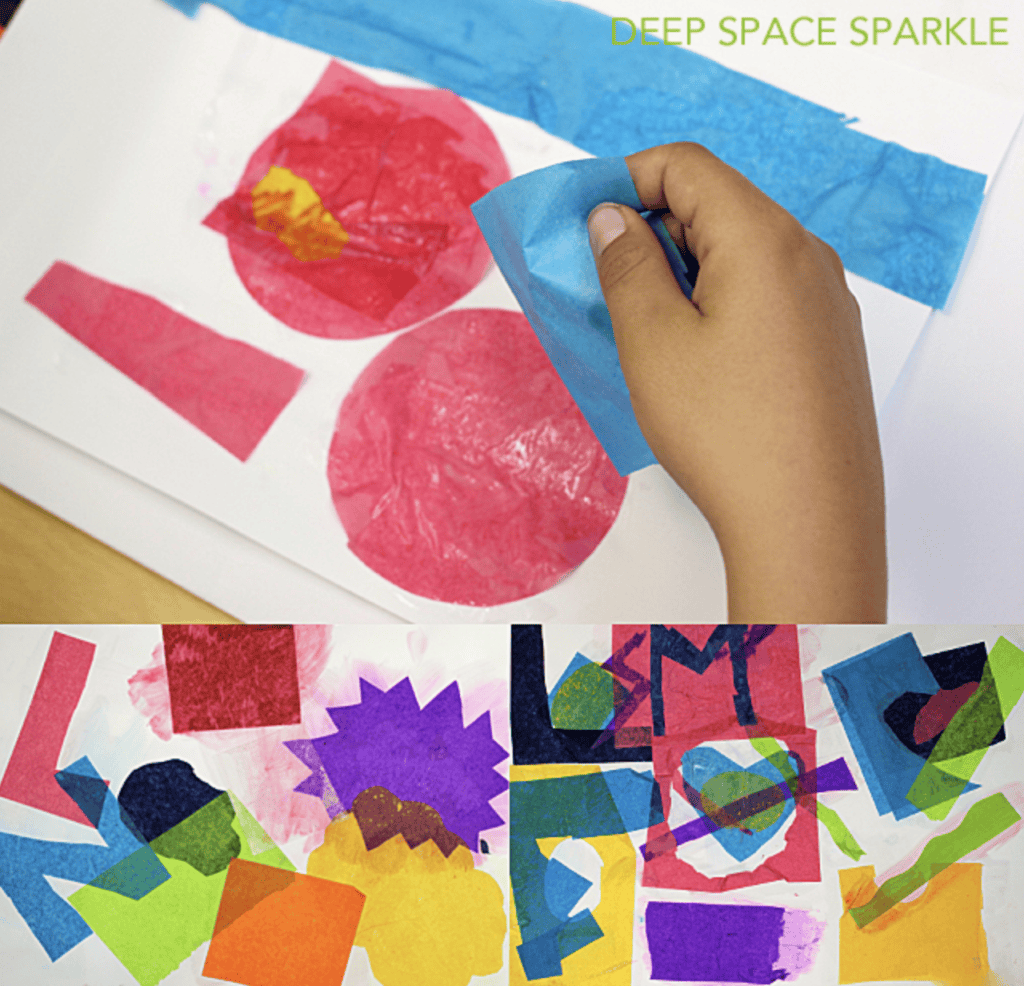
4. Tearing Paper (and maybe gluing it!)
Offer colored paper or tissue paper for tearing and collage-making. You can use glue sticks to collage or water down some elmer’s glue in a small paper bowl. Use a Q-tip or paint brush to paint glue onto the paper and then have the child press the tissue paper or torn paper pieces on to the glue.
For a young child, ripping paper or using existing small pieces is perfect. An older child can cut paint or be more involved – here are some helpful instructions for older kids.
5. Stickers!!
Peeling stickers and placing them on paper or a designated surface build fine motor skills. You can remove the backing of a sticker pad to make it easier to get the stickers without ripping. (This doesn’t take away from the fine motor ability.)
I used to draw all kinds of shapes and words and letters for my preschoolers to fill with cheap dot stickers. Suzy from Busy Toddler has a ton of dot sticker ideas too. She’s the OG dot sticker lady.
Buckets of individual foam stickers are also a fun way to mix it up.

6. Sorting Small Objects
Sorting buttons, beads, or pom-poms into different containers. You can buy inexpensive sorting trays at the dollar store or on Amazon.
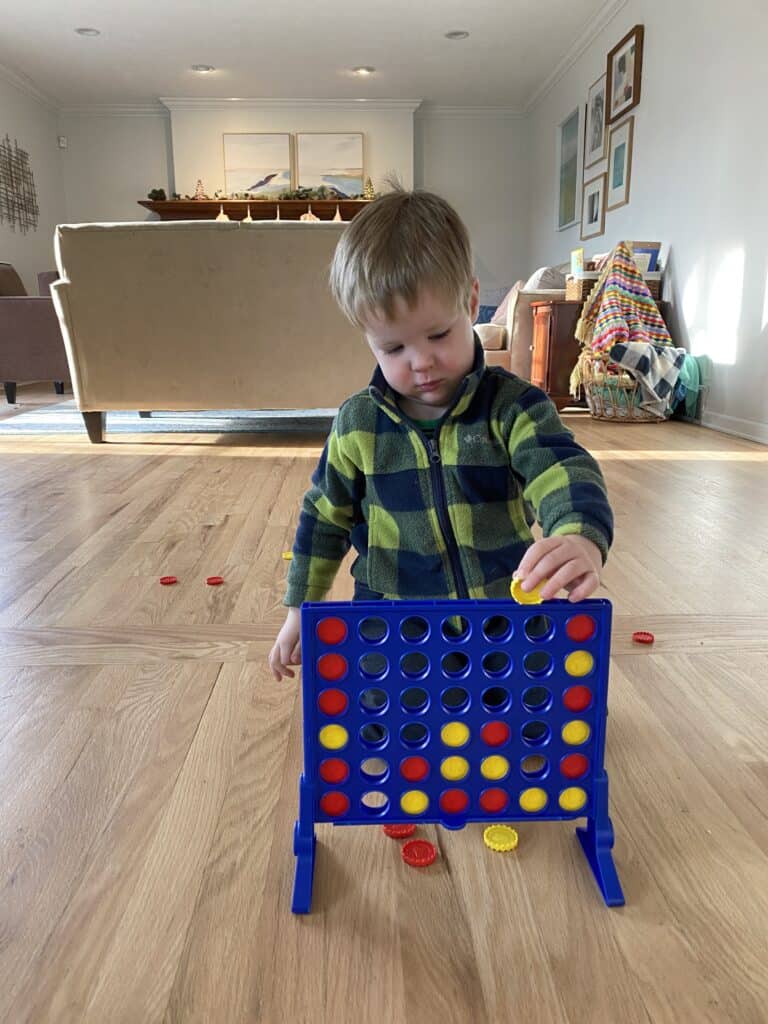
7. Playing with Connect 4 Pieces
Who knew Connect 4 made such a good fine motor activity for toddlers!?
8. Using Tweezers
Pick up small objects like cotton balls or pom-poms with tweezers and transfer them. This can be mixed with the sorting idea above.
9. Threading Pasta
Use uncooked pasta like penne or macaroni for threading onto yarn or string.
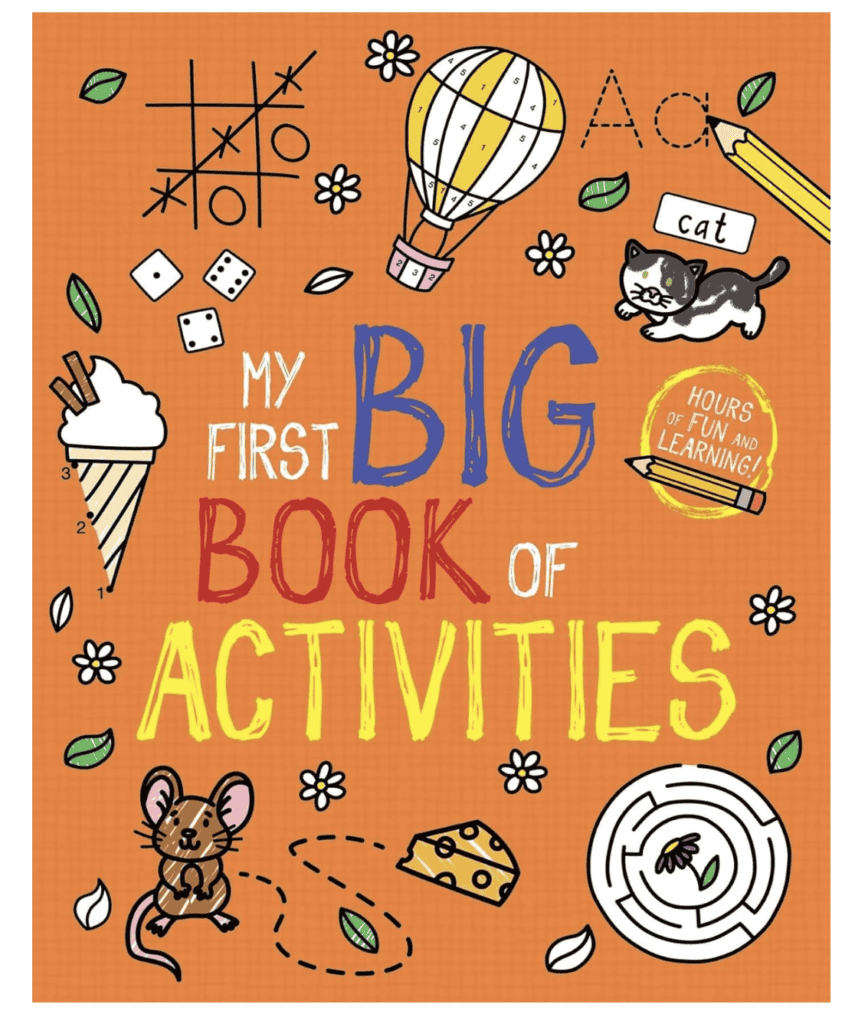
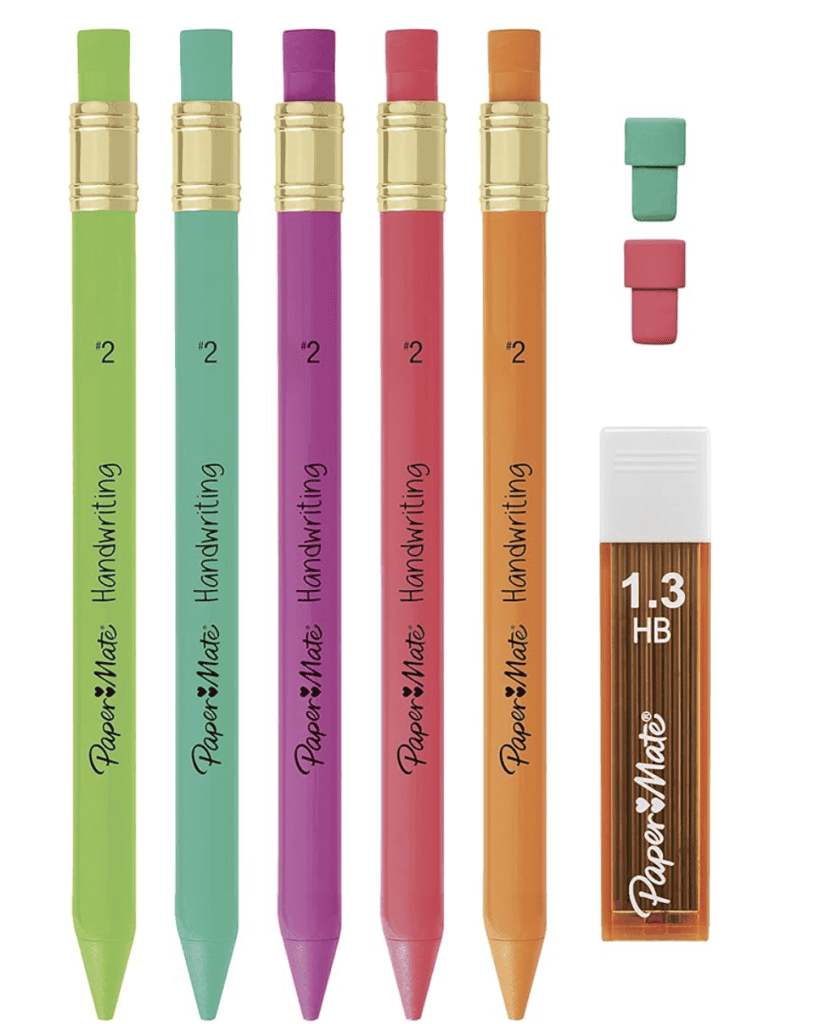
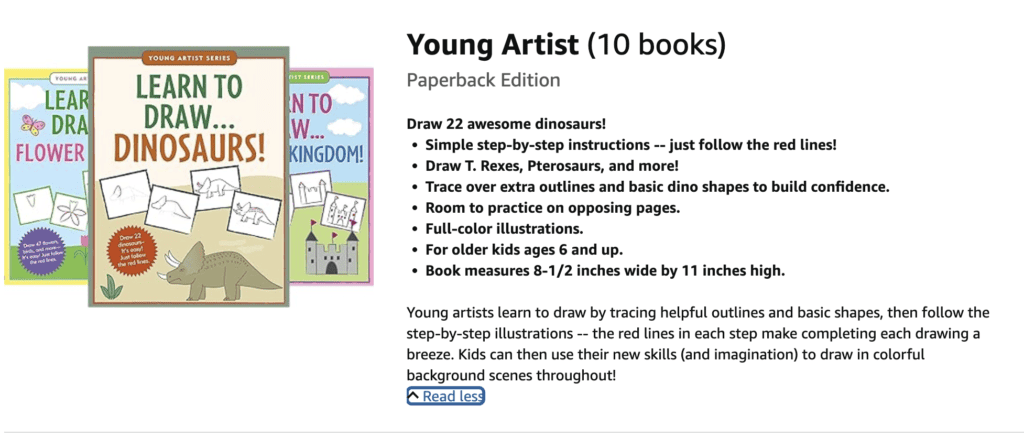
10. Dot-to-dot & Activity Books with Special Pencils/ Markers
Connect dots to reveal a picture, encouraging controlled pencil movements. Pencils are nice for dot to dot because of the ability to erase. My favorite pencils for preschoolers learning correct pencil grip are the mechanical triangle ones pictured below.
These dot to dot books (#1-10) are so cute for new learners who want to feel like they’re “doing school.” And this is my favorite preschool activity book in general.
Any other activity books are great too! My young children especially like 2 specific brands of drawing books. At first, you’ll have to show them how to copy the drawings one step at a time.
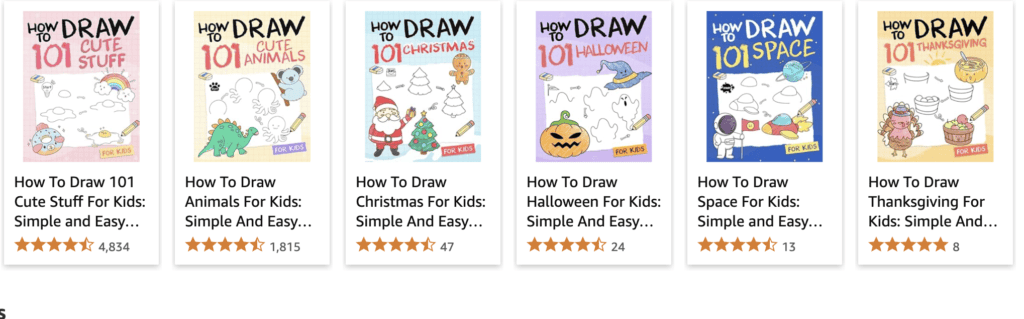
The Art Hub for Kids Youtube Channel also has great preschool drawing videos. All my preschoolers have gone through a phase of being obsessed with these.
11. Tracing Shapes
Provide stencils or templates for tracing circles, squares, triangles, etc. You can create stencils out of old cereal boxes with an exacto knife or just buy a cheap set at a craft store or on Amazon. This is a super cute set – easy for younger kids because the stencils are larger.

12. Tongs Transfer
Transfer objects like cotton balls or small toys from one container to another using tongs. The tongs that come in this set (pictured below) are PERFECT size for little hands. If you don’t want to order the whole set, check the dollar store or the kitchen utensils at Walmart. Sometimes they have small tongs! It’s best if you get ones like the ones pictured below that don’t have a confusing locking mechanism.
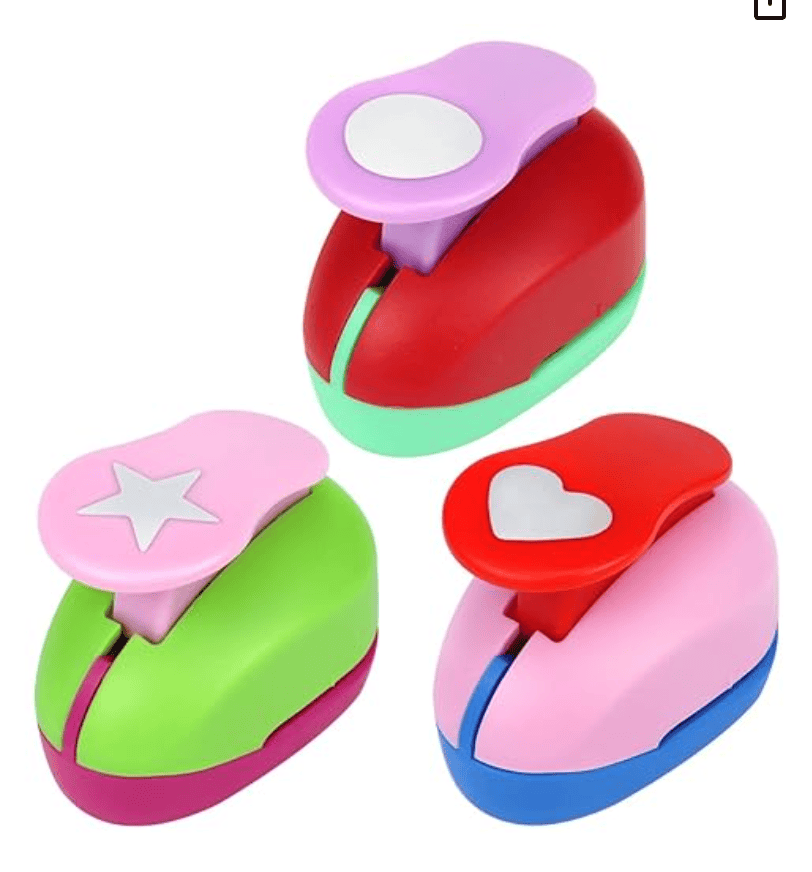
13. Hole Punching
Use a single-hole punch on paper, encouraging hand-eye coordination and finger strength. Hole punches with shapes are fun too! This is the style I mean. You can find kits on amazon, but in terms of quality, you’re probably better off picking out one or two from the paper aisle at Michael’s or Hobby Lobby.
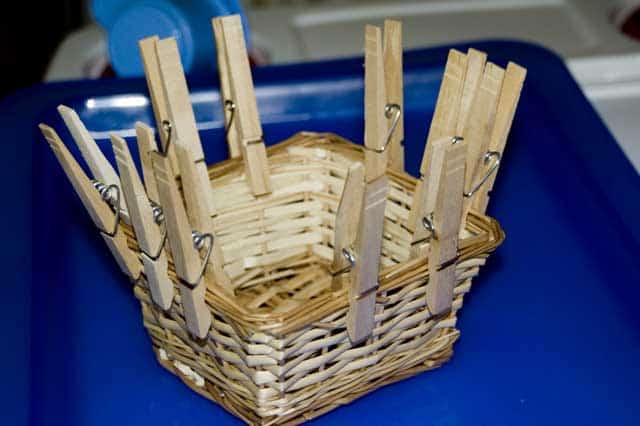
14. Clothespin Clipping
Clip clothespins onto the edge of a container or along a line of string or on a basket or an old cardboard box… or on anything really. For an older child, you can show them how to clip something to it. This would be a fun project for hanging some art on their bedroom wall. We like these smaller size clothespins! They aren’t too small, but they’re small enough to go on most twine.
15. Lacing Toys or Threading Buttons
Use large buttons and a shoelace for a cheap threading activity.
16. Crumpling Paper
Crumple paper into balls using both hands.
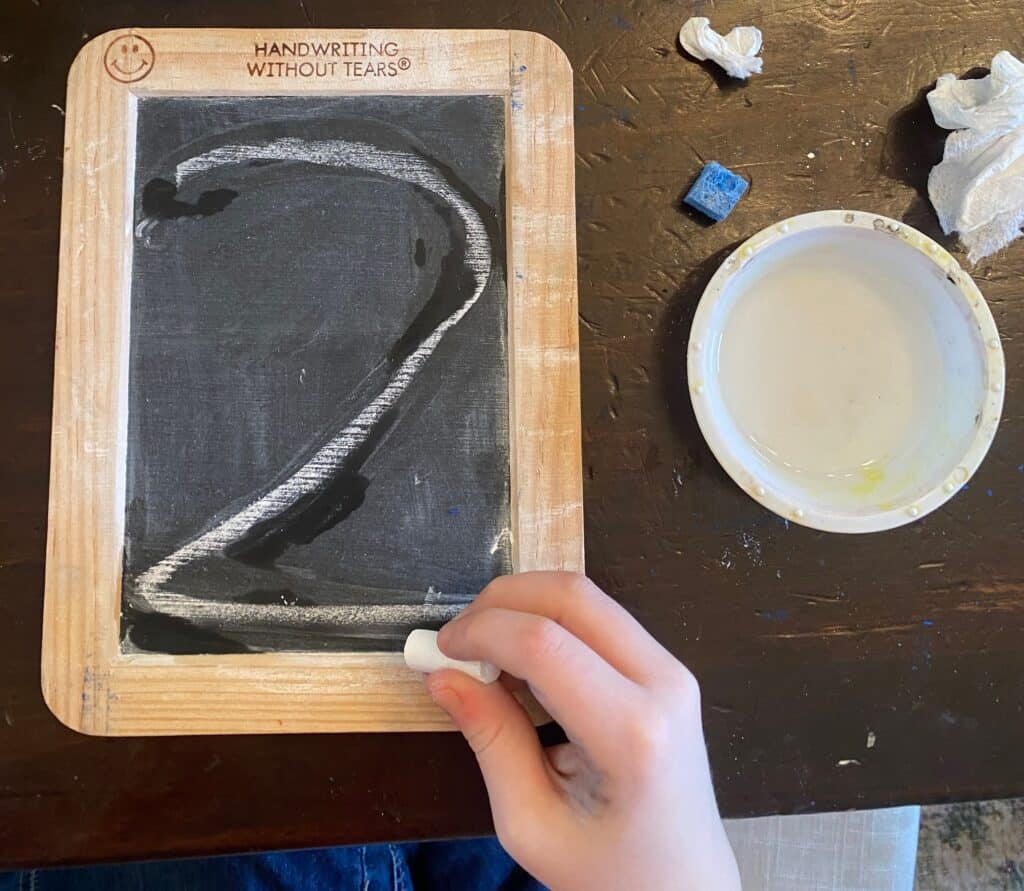
17. Drawing with Chalk
Use sidewalk chalk to draw on the pavement, encouraging arm and hand movements. Tiny chalk bits on a mini chalk board are also good for that pincher grasp. Because you have to pinch it to use it.
And because I know someone will ask – I purchased a HWT kit for my oldest child. Not worth it. Just a sponge, a mini chalkboard, and a regular package of chalk from Walmart or a craft store. Break the chalk into small pieces. Watch a youtube video on the “wet dry try” activity from Handwriting Without Tears. Voila 🙂
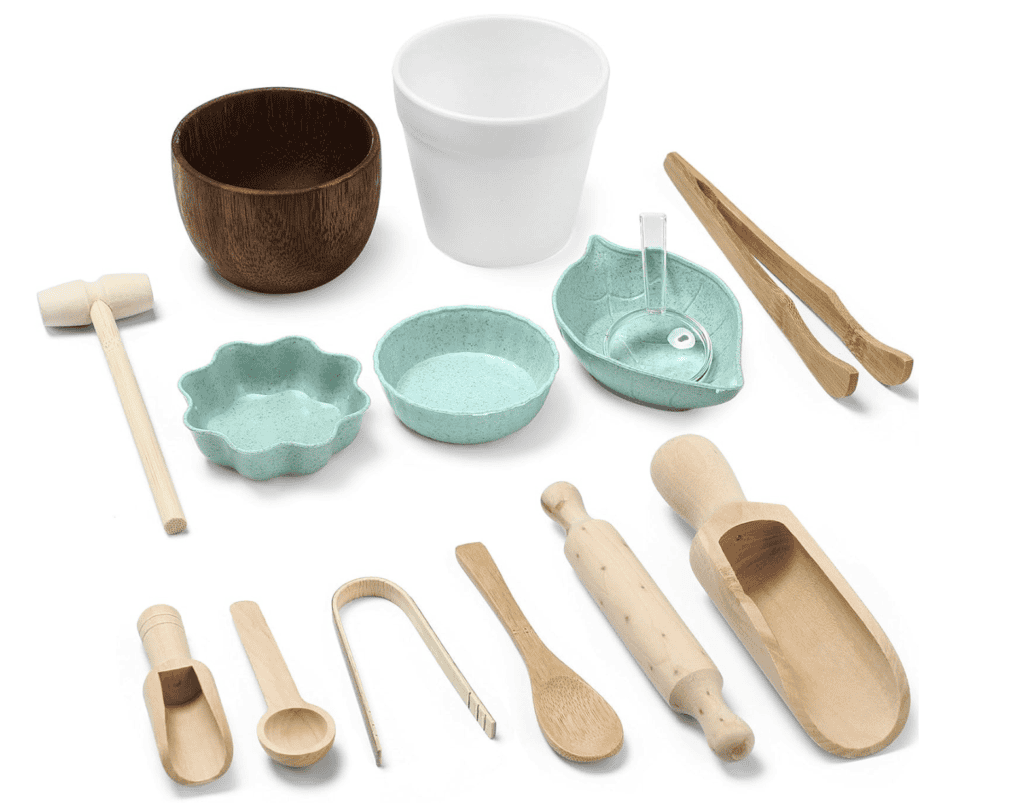
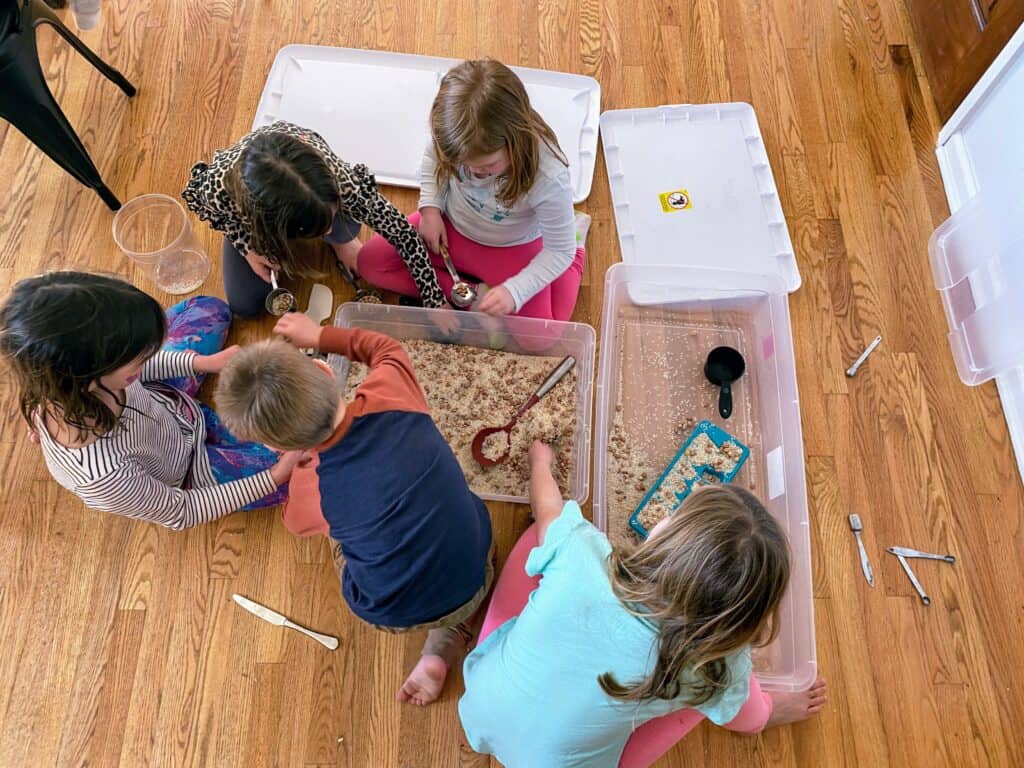
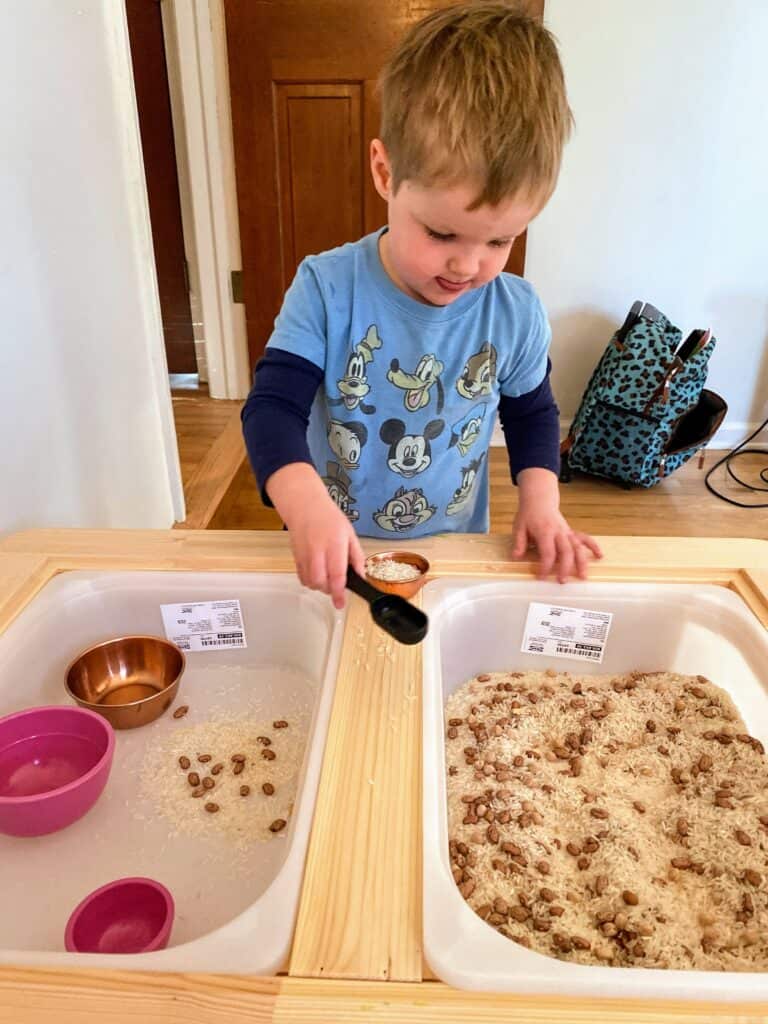
18. Play with Beans/ Rice in a Sensory Bin.
Explore sensory play by scooping, pouring, and transferring dried beans or rice with spoons or cups. Keep a child size dustpan and hand-held broom nearby for spills. You could buy fancy sensory bin toys... I usually just let my kids choose some stuff from the dollar store kitchen aisle and keep it all in an old plastic bin.
19. Tearing tape
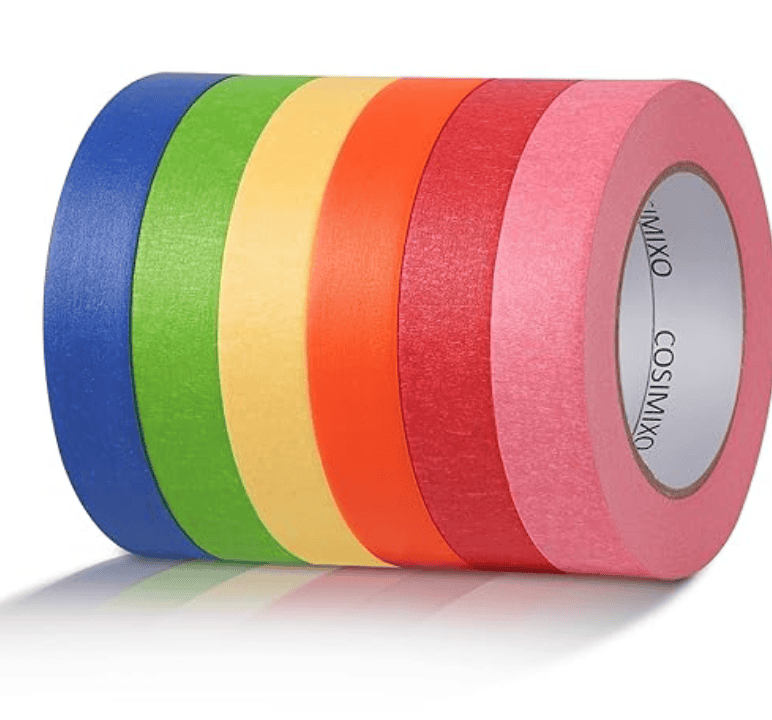
Provide colorful masking tape or painter’s tape for tearing and sticking onto paper. Peeling tape off a roll and tearing it is actually pretty hard for most preschoolers!! It’s easier if you start with a long strip of tape that is between two chairs or something. Then show the child how to rip it little by little. Washi tape also tends to tear a little easier than masking tape.
My kids love having these rainbow rolls of washi and masking tape around.
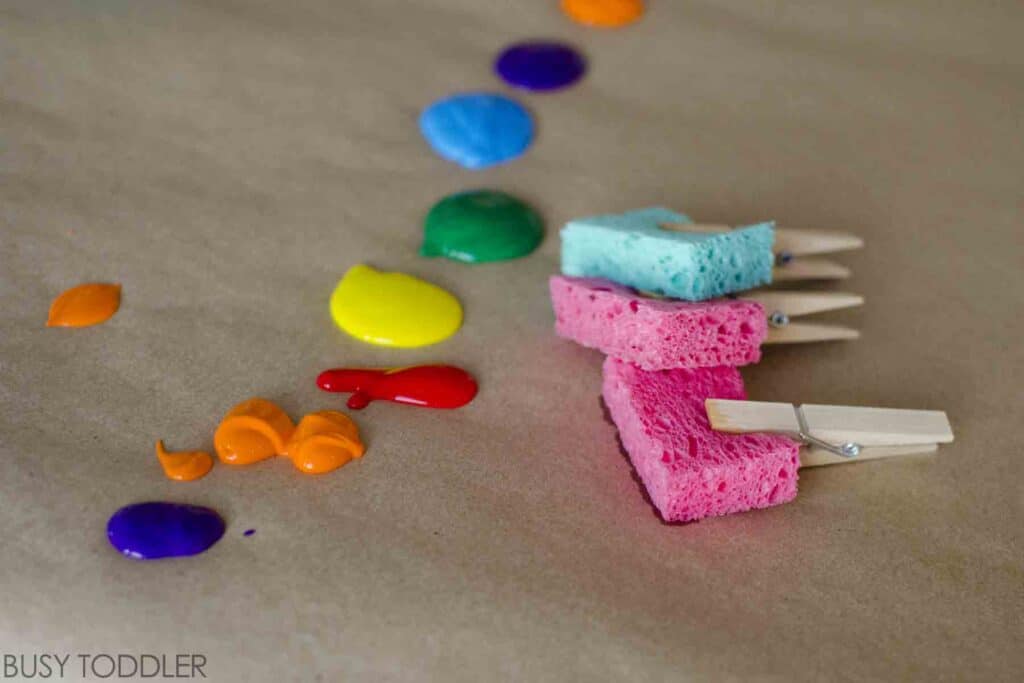
20. Sponge Painting
Cut sponges into various shapes and sizes for dipping in paint and stamping. Use a large paper plate with multiple colors of paint on it. We just buy cheap tempera paint on amazon and giant rolls of paper to cover the table with!
You can buy sponges precut as well. Busy Toddler is at it again with this activity.
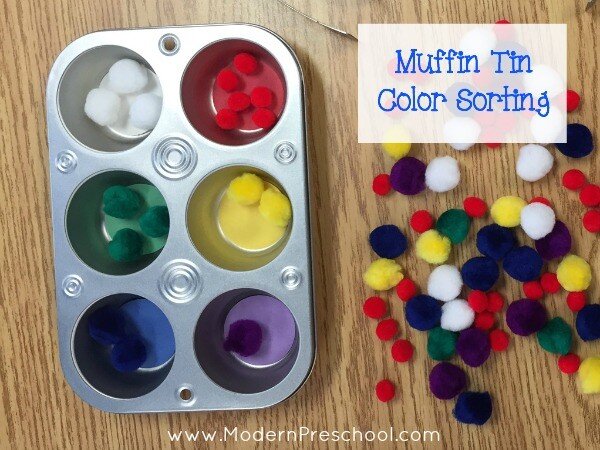
21. Button Sorting
Sort buttons by color, size, or shape into different compartments of a muffin tin.
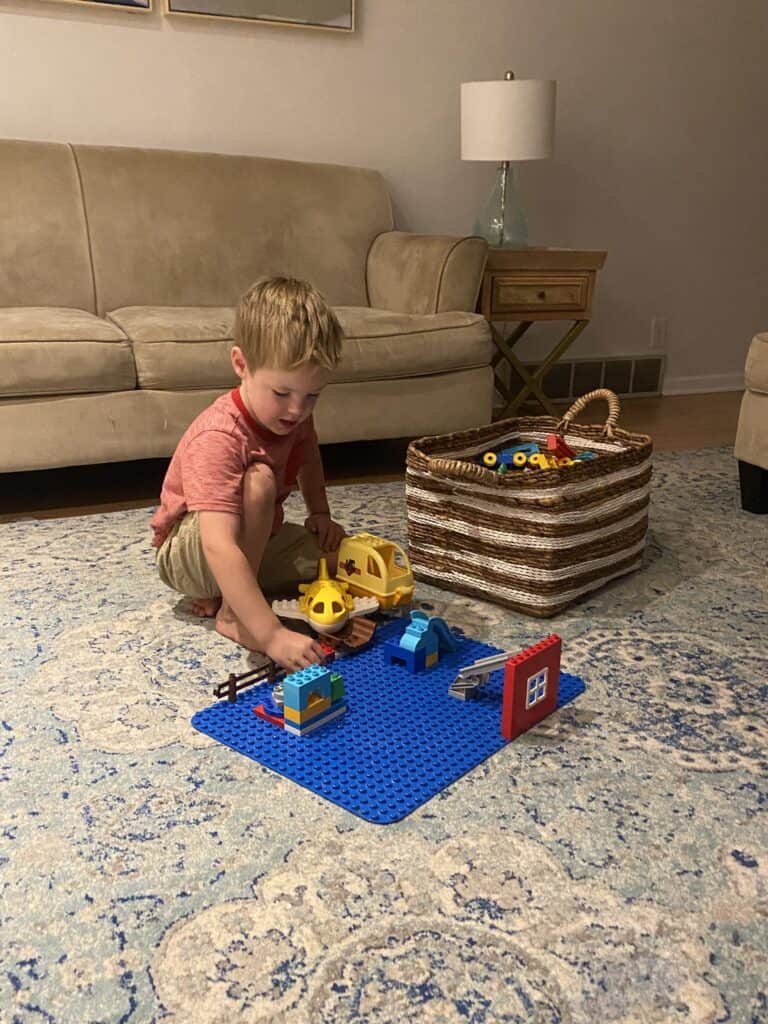
22. Building with LEGO or DUPLO bricks
All kids love Legos. We have a large bin of duplos and this giant base plate for them to be built on. The base plates are a game changer. We buy them brand name because they actually do work better than off brand.
We store legos in shallow under the bed bins… they work great for digging & finding what the kids want (minimal dumping out during play), easy clean up, easy to move to a different location if needed, easy for lots of kids to play with at once, and easy for storing under the bed!
For toddlers, I love starting them off with a basket of squares to learn to connect them.
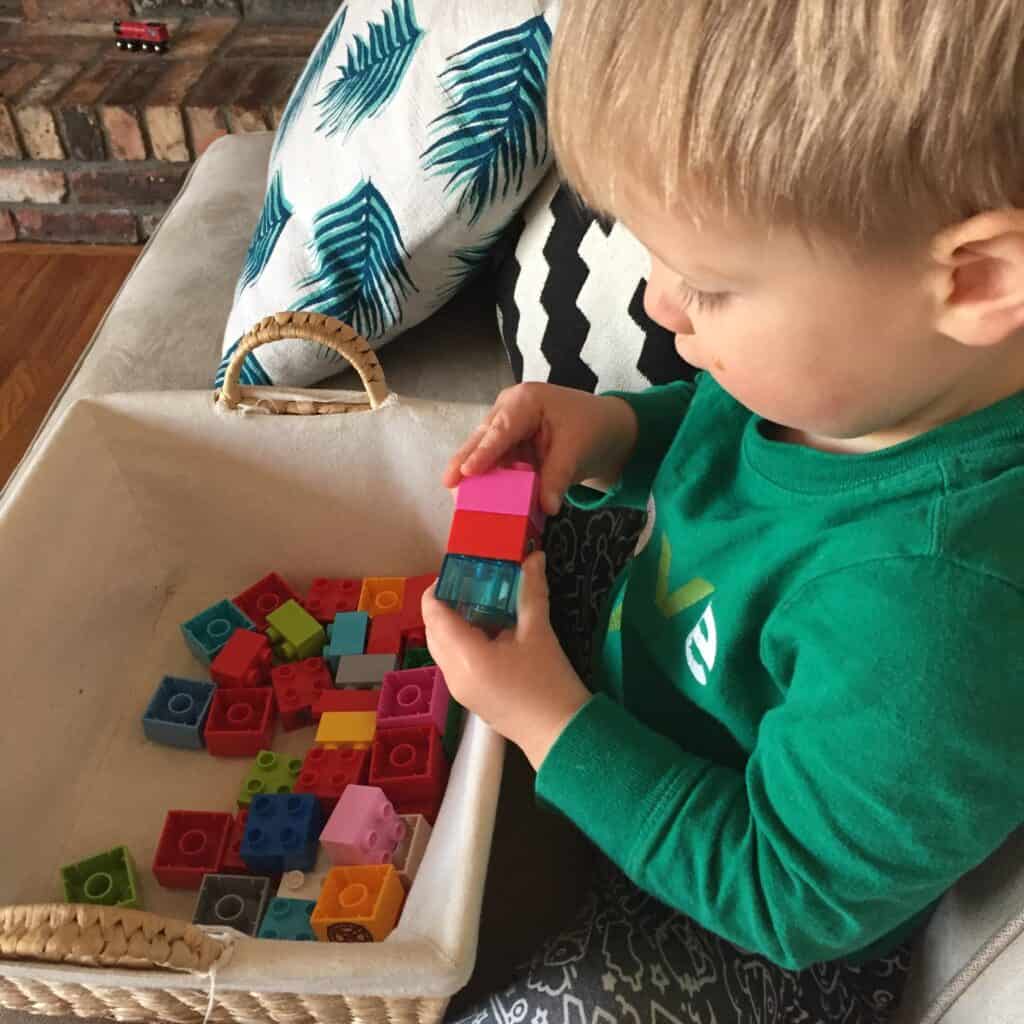
Eventually, they can expand their creations!
23. Making Paper Chains
Cut strips of colored paper and glue, staple, or tape them together to form chains.
This is more complicated; better for older kids. By 4-5, kids should be able to grasp the concept & really enjoy making the chain bigger if you help them get it started.
24. Threading Cereal
Use large, round cereal like Cheerios for threading onto spaghetti strands. Just use what you have. Apparently when my 2 year old was playing playdough, we had bamboo skewers and Aldi brand fruit loops.

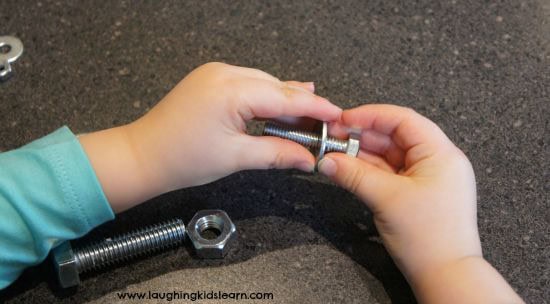
25. Play With Nuts and Bolts
Take an outing to a hardware store and choose a few sets of nuts/ bolts of varying sizes. Allow your child to practice putting the nuts on and off the bolts. You can buy a fancy montessori version of this, but most kids will think the real deal is more fun.
26. Rolling Playdough… Snakes and Letters
Rolling, squishing, and shaping playdough all help to strengthen hand muscles.
Roll play doh into long snakes and then shape them into letters or numbers. Helping your child spell family member names out of play-dough is fun!
Bonus activity… make your own play dough. It’s easy to do and working with kitchen tools provides additional fine motor strengthening. We use this recipe.
If you’re feeling extra, you can laminate some free playdough mats from here.
27. Making Paper Airplanes
Folding paper to make airplanes and then flying them indoors or outdoors.
28. Sewing with Plastic Needles
You can bead with plastic needles and string. Or, do a beginner cross-stitch type activity. You can even just set up some embroidery thread and let the child go back and forth with the plastic sheet and hoop to create their own designs.
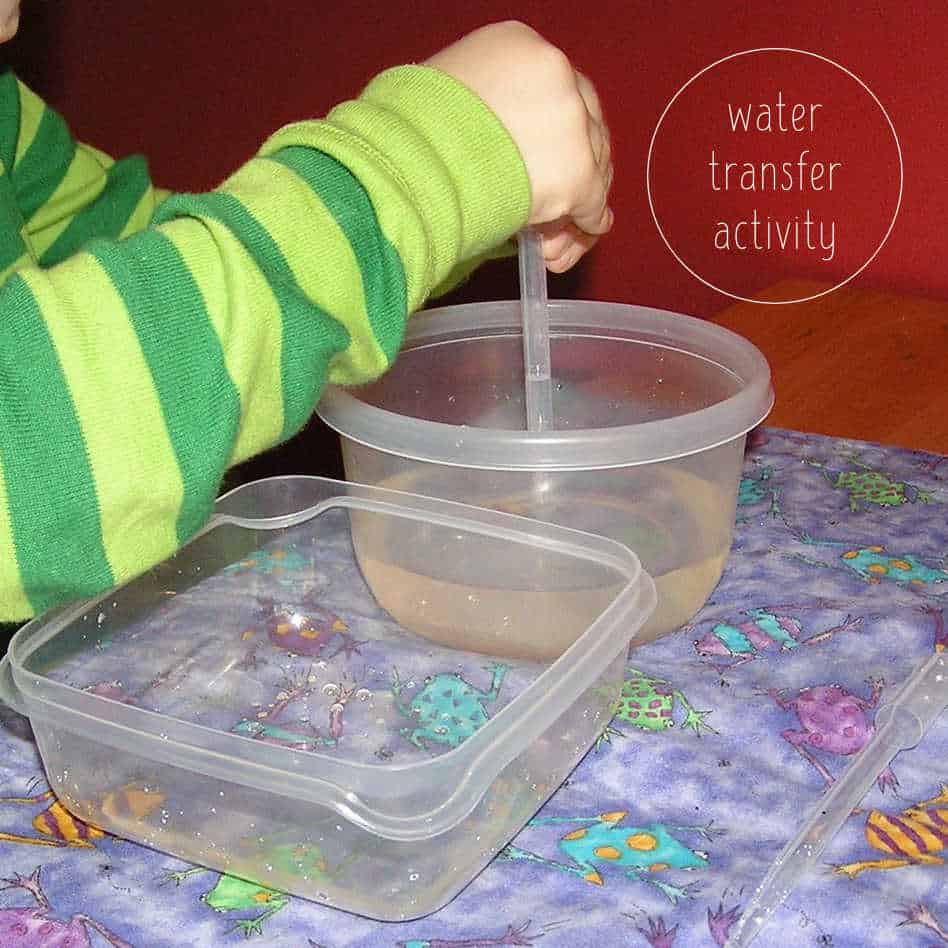
29. Using Pipettes
Transfer colored water between containers using plastic pipettes or droppers. I usually save a few small containers for just this purpose!! They always get used. Its even more fun with colored water!
30. Decorating Cupcakes
For my personality and energy left, cake decorating would be a 2 day project. I’d have the child help with make the cake and frosting one day, then the next day we’d decorate. You could also use store bought sugar cookies, and then make the frosting with various colors to decorate them. Squeezing icing out of bags or tubes and carefully placing sprinkles on cookies would be good fine motor strengthening skills.
31. Toothpick Marshmallow Structures
Stacking cups: Stack plastic or paper cups into towers, experimenting with different arrangements and patterns.
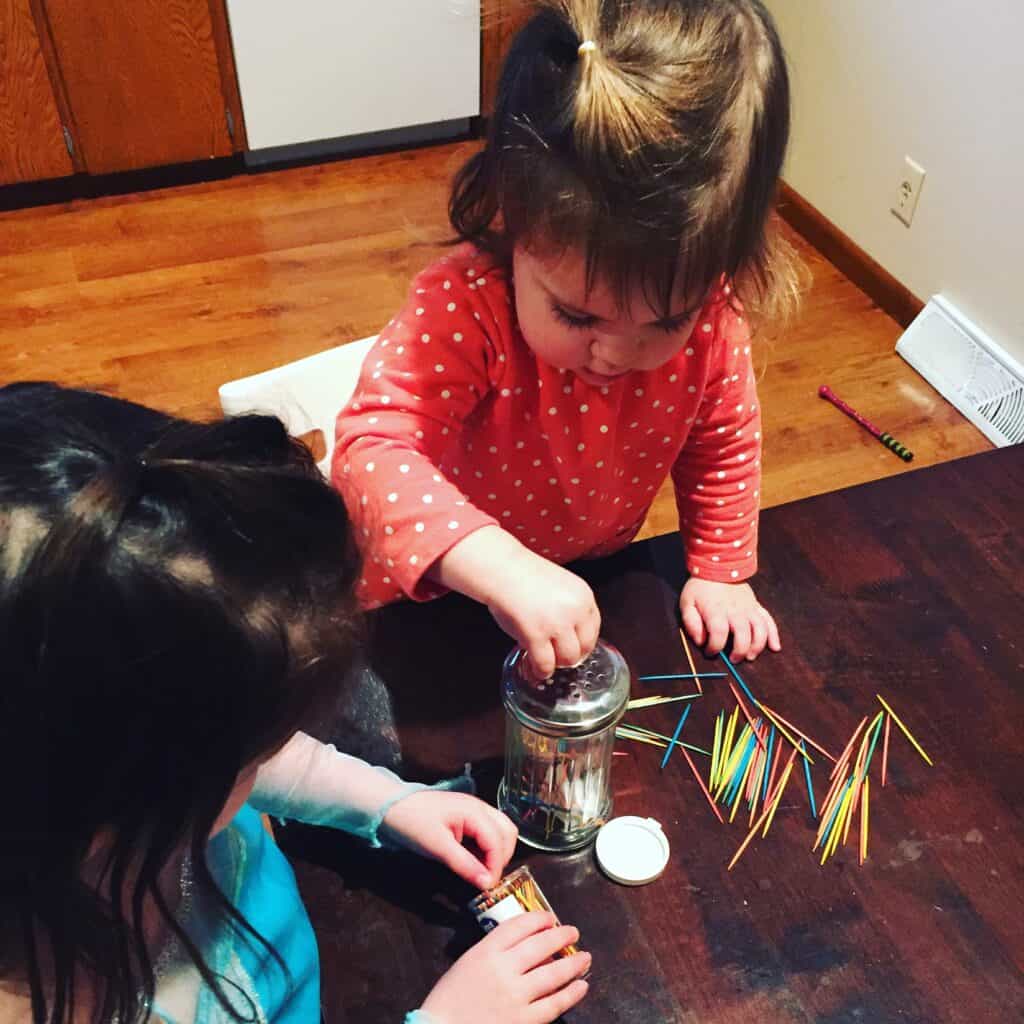
32. Toothpicks into a Container with Holes
This is a parmesan cheese shaker from the dollar store!
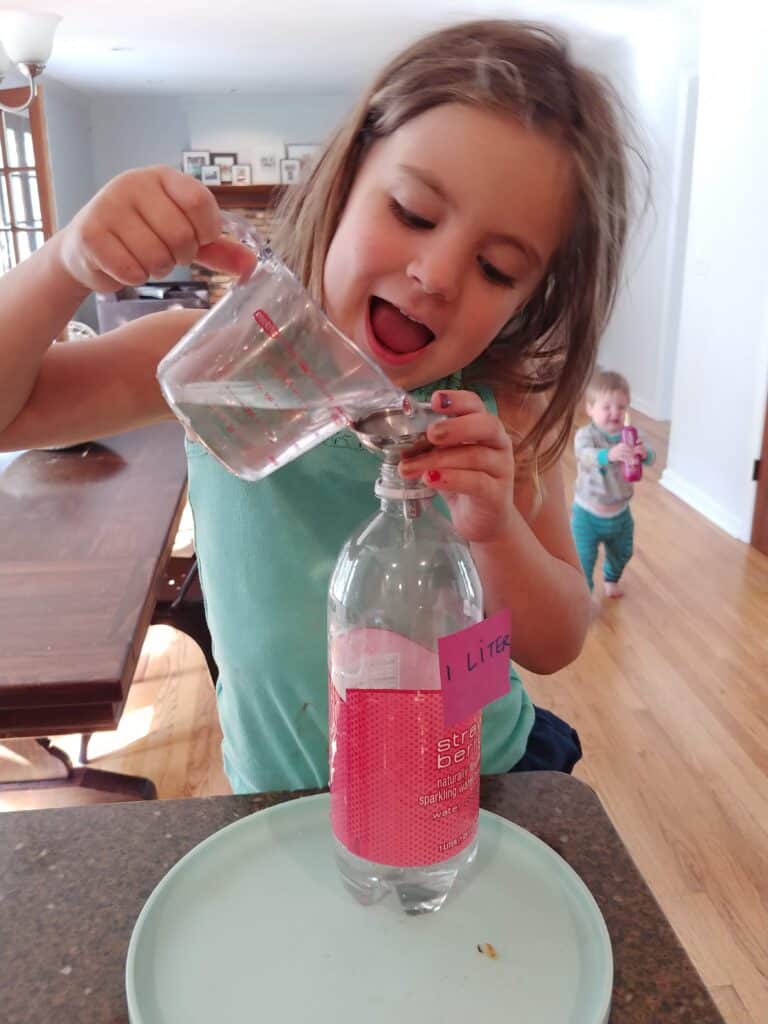
33. Pouring Water
Any water pouring is GREAT for fine motor… the Dollar Store and kitchen utensils aisle at Walmart have tons of tiny pouring containers. Very fun!! Just set your kid up at the sink with a beach towel underneath them; or send them outside with a bowl of water.
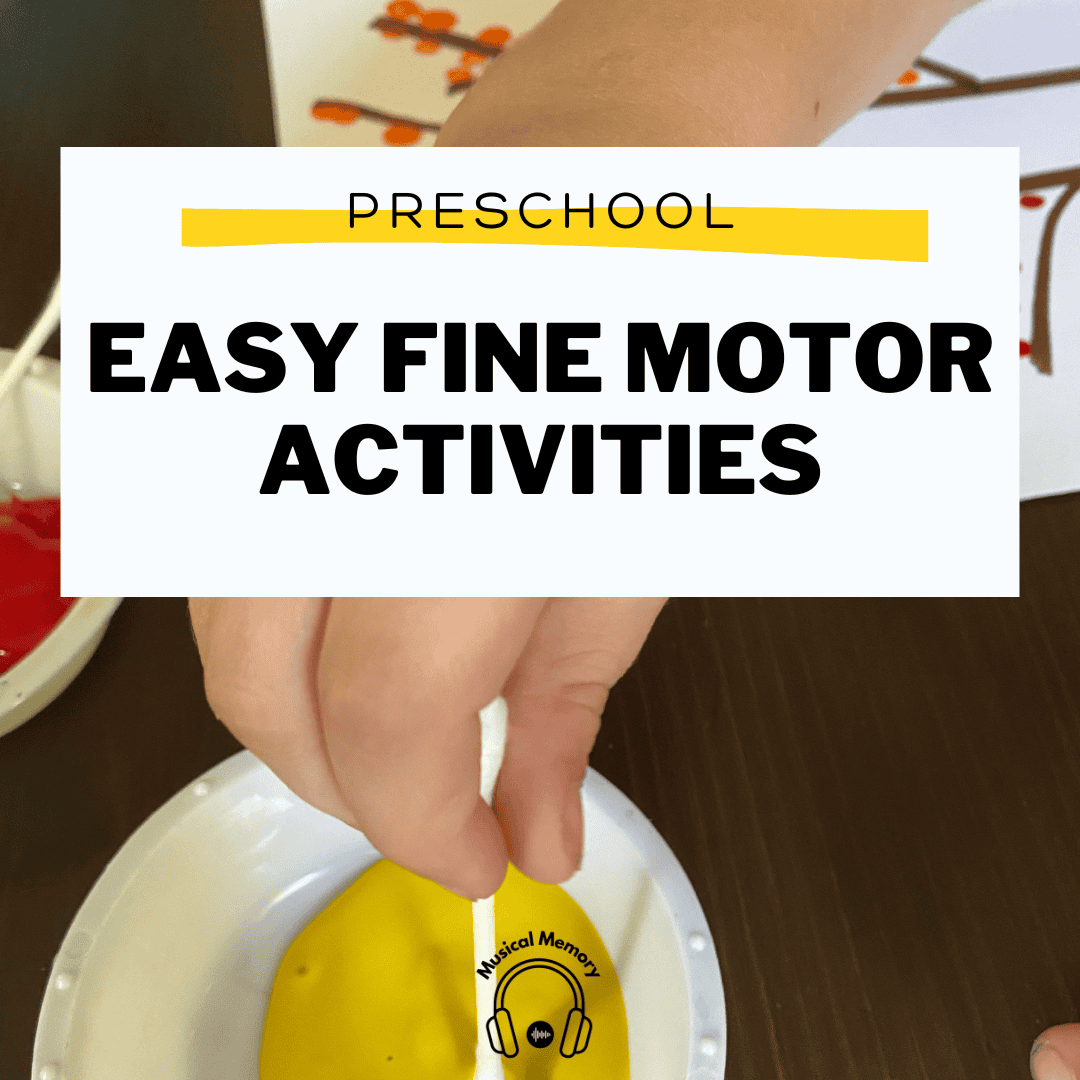
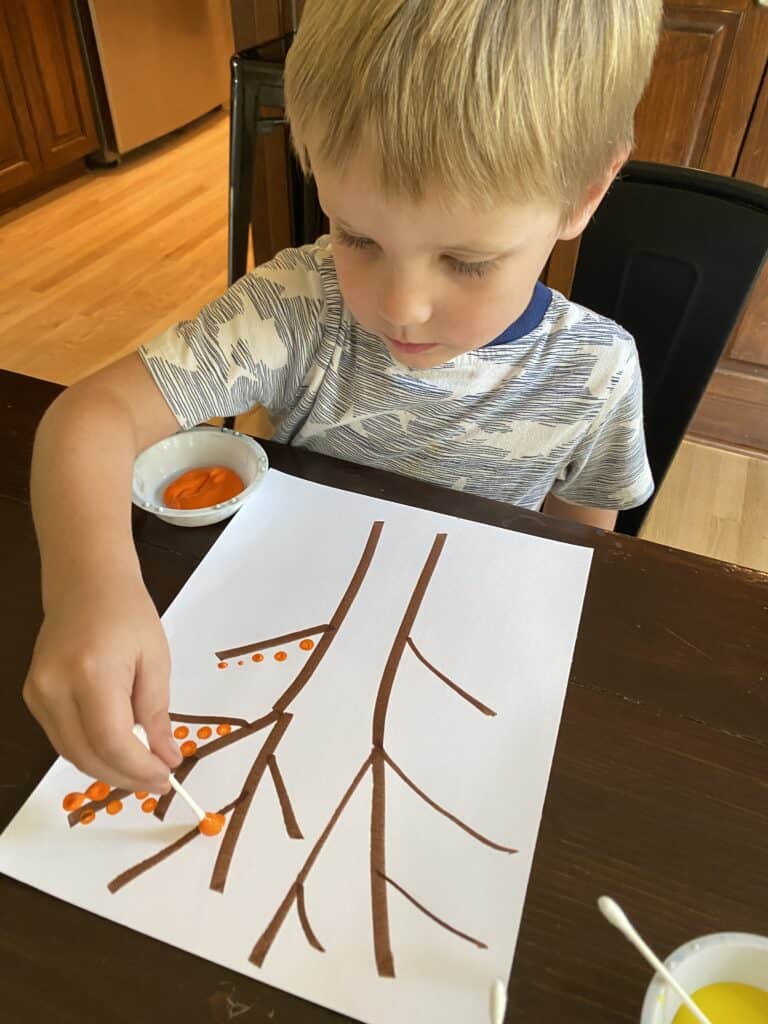
34. Painting with Q Tips!
In the activity pictured we were putting “fall leaves” on trees. But any sort of q-tip dabbing with paint or glue is GREAT for fine motor skills as well. Look at the natural pincher grasp that forms.

35. Peeling!
Using a peeler is a good life skill. Kids love it, and it builds strong hand muscles. We love peeling apples for apple crisp every fall. It’s sort of easy to slip and cut themselves, so make sure the child understands how to use it.
