7 Best Tips for How to Teach Phonograms with Complete Phonogram List
Today I’m going to explain exactly how to teach phonograms to your child at home so you can teach them to read. Phonograms are the building blocks of the English language.
The phonogram tips, resources & activities in this post are the main tools I’ve used to help our children learn to read between ages 4-6, and I know they’ll work for you too.
At first, I was intimidated by teaching our kids to read because I don’t have a background in literacy education. I thought you had to be a professional.
As it turns out, learning to read snuggled up on the couch next to Mom or Dad is one of the best gifts! It is so fun to come alongside your child as they discover the magic of reading. (Well, sometimes it’s painfully slow and frustrating. But the end result is really fun!)
So, let’s dive right into this complete guide for how to teach reading & spelling using the phonograms.
What are phonograms?
A phonogram is a letter or combination of letters used to represent a sound.
Some phonograms have one sound. Others have 2 or more sounds. Sometimes people call these, “phonics sounds,” but phonograms is a more accurate term.
For example,
C is a phonogram that says /s/ in cereal or /k/ in cat.
T is a phonogram that always says /t/ in twirl.
TH is a phonogram that says /th/ in tooth and /TH/ in this.
A is a phonogram that says /a/ in cat, /ā/ in face, and /ah/ in fall.
Phonics instruction is the reading instruction method of learning phonograms, and blending them together to form words.
This short video gives an overview of how to teach a few different phonograms, and how to do the letter sounds correctly.
Steps to Starting Reading at Home
Understand reading readiness & whether your child is ready to start the process.
Start teaching first 26 phonograms (explained in this post you’re currently reading!)
Transition to word building & reading with the instructions in this post.
Continue teaching 3-5 phonograms per week until all 75 are mastered. Once mastered, review occasionally for several years or until child is a proficient speller.
7 TIPS FOR TEACHING PHONOGRAMS
1.Teach Phonograms Incrementally
Whether or not your child is already reading, you should teach phonograms because it’ll make their life so much easier for spelling.
I always teach at least the first 30 phonograms to a kiddo who is a beginning reader, even if the child is already beginning to blend simple words together.
The best way to teach phonograms is the same way you’d eat an elephant – a little bit at a time!
The younger the child, the fewer phonograms you should introduce at one time. Here are approximate guidelines for the number of phonograms to teach at once.
It has the 75 most common phonograms on it in a logical teaching order, along with sounds & pronunciation tips for parents. Even kids who already know most letters of the alphabet and letter sounds will benefit from learning phonograms & all the sounds each letter makes.
*Note on teaching order – I do not recommend teaching phonograms in alphabetical order. I compiled the order on my list after studying several major phonogram-based language arts curriculums. Almost all the programs teach the phonograms in a very similar order. Your child may already know some phonograms out of order, and that’s fine… Mark off the ones they already know and teach the rest in order.
My phonogram flashcards & games kit comes with numbered cards you can print double sided so all the sounds and hints are on the back for parents! Perfect for parents who are learning phonograms alongside their kids (like I did)!
STEP 3 – Show your child one card at a time and see what he already knows!
*Note: You can skip this step if you want! Just start introducing the phonograms in order on the chart, a few at a time. Some of the sounds, the child will likely already know, and that will just be an easy card for them.
In order for the card to be considered “mastered,” the child has to know all the sounds in the correct order. This isn’t a test – don’t make it stressful or high pressure. Just say, “I’m going to show you some letters or letter combinations, and I want you to tell me what sounds each one makes. If you don’t know, no big deal. Just say, ‘I don’t know.’”
Be encouraging. For example: “You’re right! S does say /s/. It’s kinda sneaky though. It also says /z/.” If your child is already reading, you can point out the words was, has, is.
Make 2 piles/ groups as your child tries them out – “mastered” and “needs to learn.”
STEP 4 – Use a tracking chart (optional)
In the previous step, you made 2 piles of flaschards – “mastered” and “needs to learn.” This is all the tracking you need to do. BUT, some people love progress charts.
My kids love drawing a line through the phonograms they’ve mastered at the end of each week. Our phonogram kit includes a chart for younger kids that just shows the first 26 sounds in teaching order, and a chart for older kids who are working on all 75. My recommendation is to use the apples chart until the child knows the first 26. Then move to the honeycomb chart and allow the child to say & mark off the first 26 on the honeycomb one right away.
Mark them off, regardless of where they are in the ‘order’ on the chart. Then put your “needs to learn” pile in number order.
Labeled, sandwich-sized bags are helpful for sorting the piles. Or you can use a small basket with labeled index card dividers, which is what we do. It’s easy to keep everything in order.
STEP 5 – Create a “practicing” pile.
Grab the first 3-5 cards from the “needs to learn” pile to create your 3rd group of cards which is the “practicing” group. Make sure you’re going in order from the phonogram chart.
You can store these piles in a little index card holder, with paper clips, or ziplock bags.
Work on learning the “practicing” phonograms until they’re mastered. As your child masters a sound, put it in the “mastered” pile and then add a new card to your “practicing group.”
I will share several simple phonogram activities, games, and teaching tips through the rest of this post. Use them as you see fit.
3. Review Often
Once a phonogram has been mastered, you want to make sure you review it frequently. I have our kids practice the phonograms they’re working on Monday – Thursday. Then, we review their mastered phonograms on Fridays.
Usually, we just zip through all the cards in the “mastered” pile and call it a day. Sometimes we play a fun review game if we have time. If the child gets it wrong, it goes to the back of the pile for one more try. If it’s clear that the card actually needs more practice, it goes back to the practicing pile.
Quick & consistent repetition over a long period of time will yield amazing results!
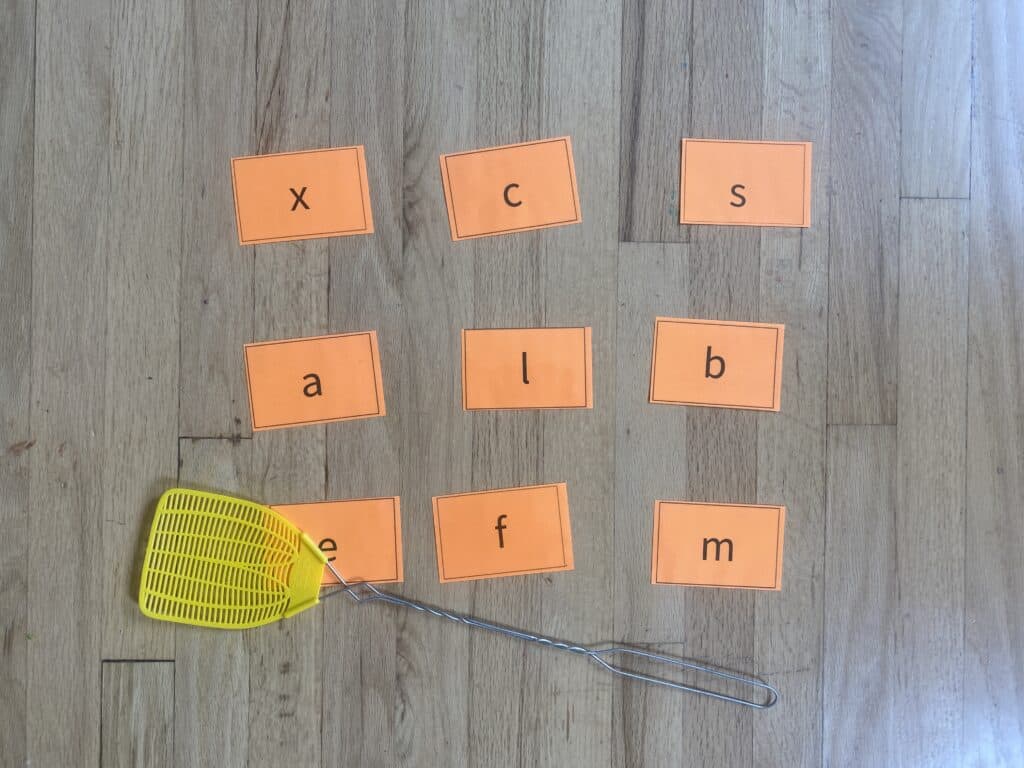
Swat the phonogram review game
4. Find Phonograms in Books
When you learn new phonograms, take time to point them out as you come across them while reading once in a while.
For example, “Oh hey! We just learned that E can say /ĕ/ or /Ē/. Look! /ĕ/ /ĕ/ elephant! And beeeeeee. The 2 different e sounds are in this book.”
This works super well in early reader books designed for young readers. Often, these books use large text, lots of high frequency sight words, and they’re easy for pointing out repeated rhyming vowel sounds, a group of letters, or single letter phonograms.
Point this out occasionally, but there’s no need to do this to the point of exasperation. Which brings me to my 5th phonogram teaching tip.
It’s important to enjoy reading when you have a new reader at home.
Learning to read requires a lot of mental energy for your kiddos. They are thinking hard and doing lots of things at once- What’s that letter? What are the vowel sounds? How do I string these together? And what the heck is this book about anyway?
So, when you have a few minutes to read together for fun – don’t ruin it with a phonics lesson 🙂 Just read to them and enjoy the story.
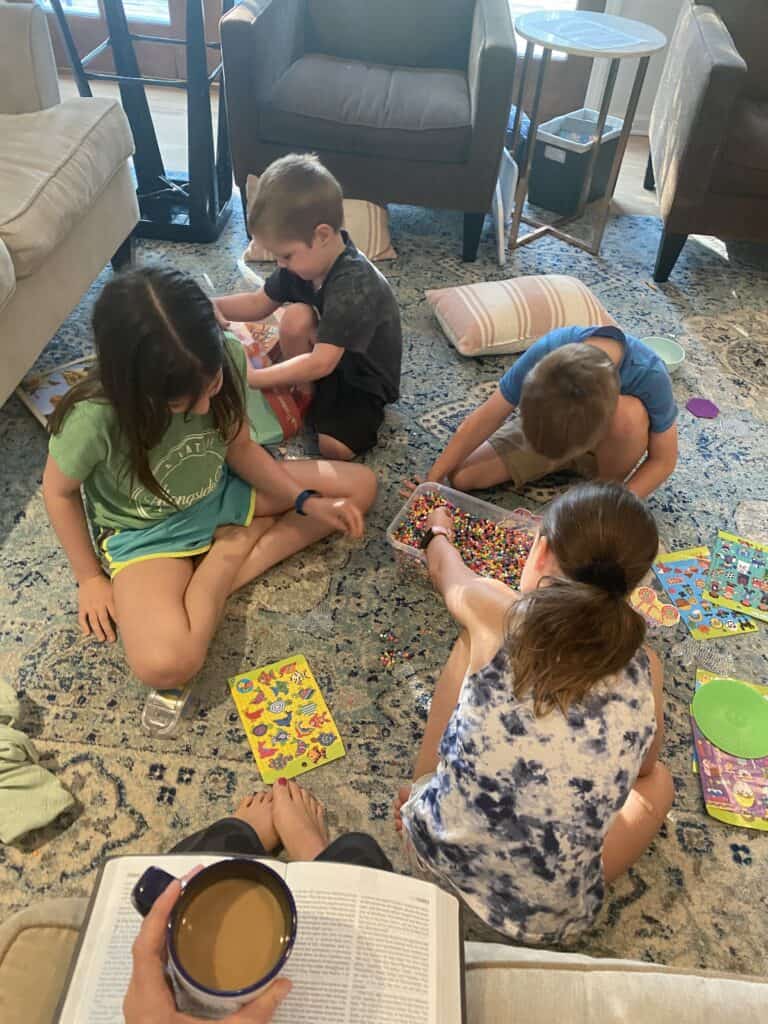
If you want your kids to listen to read-alouds for longer amounts of time, grab some coloring supplies, beads & string, or legos. Studies show kids listen more attentively and retain more of what they read when their hands are busy. My voice almost always tires out before my kids are done listening.
Perler beads are a reading-time favorite around here.
6. Use Flashcards
I’m all for hands on learning, and we don’t use very many flashcards in our homeschool… but they sure are convenient for phonograms practice! And phonograms are the foundation of written & spoken language in English.
If you act like flashcards are horribly boring, your kids will think they’re boring. If you act like they’re fast, fun, and easy, your kids will probably think they’re fast, fun and easy.
If we are trying to get through phonograms quickly for some reason, we’ll just zip through the flashcards in a traditional way.
Other times, we use phonograms flashcards for simple activities and games.
My phonograms games & flashcards kitcomes with 11 no-prep games plus the cards to print double-sided, practice writing pages for all 75 phonograms, and the cute tracking charts!
7. Use Simple Phonogram Games & Activities for Practice & Review
I’m convinced people have made teaching reading way too complicated. You don’t need a $300 curriculum, picture cards, word cards, 10 step lesson plans, or a 5 day teacher training.
A little bit of practice several days a week over a long period of time will produce amazing results. It doesn’t need to be tedious or painful, and there is no rush!
Kids are so easy to please. Use your happy mom voice, call it a “special letter game,” throw in some m&ms and you have a winner!
A couple phonogram game & activity ideas are:
Memory match – Write each phonogram that your child is practicing on 2 different index cards (better yet, have your child do it!)
Phonogram fishing – Put paper clips on the phonogram cards your child is working on. Let your child make a fishing pole with a stick, string, and a magnet on the end. Then, have your child fish for phonograms while saying the sounds he picks up. Alternatively, you could say, “Go fishing for the phonogram that says /k/ /s/” and they’d try to find a c.
Usually, we do games on long winter days when we need exciting indoor activities... When it’s nice out, we tend to just do quick flashcard run-throughs so we can go play outside!
A Few More Phonogram FAQs
How many phonograms are there?
75 phonograms to begin with. There are 26 single-letter phonograms & 50+ multi letter phonograms that are widely recognized in the English language. Then there are many more advanced phonograms as well, but you can save those for when your child is an advanced speller. The first 75 will take you through an 8th grade spelling level.
These phonograms are based on the research methods of Dr. Samuel Orton, Denise Eide, & Ronalda Spalding. Many popular homeschool phonogram based programs are connected in some way to one or more of those people.
There is a little variety between each researcher’s detailed instructions, but the small differences don’t matter.
When do I start teaching phonograms?
Whenever you want! If your preschooler seems eager to learn letter sounds, start with some phonogram flashcards and teach 3-4 at a time. Once the child masters the sounds of those few, move on to the next few.
You can also wait until kindergarten or first grade.
You may notice some phonics programs include practice activities for combined sounds such as: br, fl, st, or tr. Those are technically not unique phonograms, but are rather 2 individual phonograms blended together.
Though it’s fine to practice these combinations of letters, they’re more accurately called “consonant blends,” not phonograms. Phonograms focus on a single sound.
The Good and the Beautiful Language Arts program (which I love) incorporates flashcard practice with blends like that, but they are technically different from the 70-75 unique phonograms.
Many children will not need to practice consonant blends in order to learn to read. Practicing the 70-75 phonograms along with building words and reading from books will be sufficient.
The main reasons to practice consonant blends are helping with fluency and ease. Many children who are fluent in the first 26 phonograms naturally start blending those consonants together with ease.
However, if you find your child has trouble with a specific consonant blend, you can write out a list of phonetic words that start and end with that blend for additional practice.
For example, if your child has trouble pronouncing ST… write out: stop, stat, stint, stand, past, fist, lost. Demonstrate clearly & slowly with your mouth how to form the S and T. Have your child practice the sounds slowly too.
Don’t expect mastery in one day & don’t work to the point of exasperation! It’ll come.
Why teach with phonograms?
The short answer to that question is – learning phonograms makes reading and spelling easier!
If you know the phonograms and spelling rules, you can use them to spell many English words.
Here’s a quick example of a 7 year old sounding out two easy spelling words.
The slightly longer answer to “why teach phonograms” is…
Phonograms are the basis of reading & spelling in the English language. Many languages have a completely phonetic alphabet where each symbol (letter) only has one sound. English, though sometimes made fun of for being illogical, is just more complex than the purely phonetic languages. It’s been influenced by many other languages and has 45 sounds made up of 75+ combinations of sounds. The sound of long A can be spelled 8 different ways…
a – baby
a_e – cake
ai – rain
ay – play
ei – reindeer
eigh – weight
ea – steak
ey – they
Learning to read happens as your child learns what sounds the phonograms stand for and how to blend them together to form words. (Eventually, of course, this process becomes automatic and you can read words made up of phonograms without even thinking about it.)
Learning English spelling happens as your child learns to break apart (segment) words into sounds and learns how to write out each of those sounds with the correct phonograms.
Decades of research in cognitive science and literacy instruction reveals traditional phonics methods and programs that use phonograms as the foundation – are the most successfulin teaching kids to read and spell.
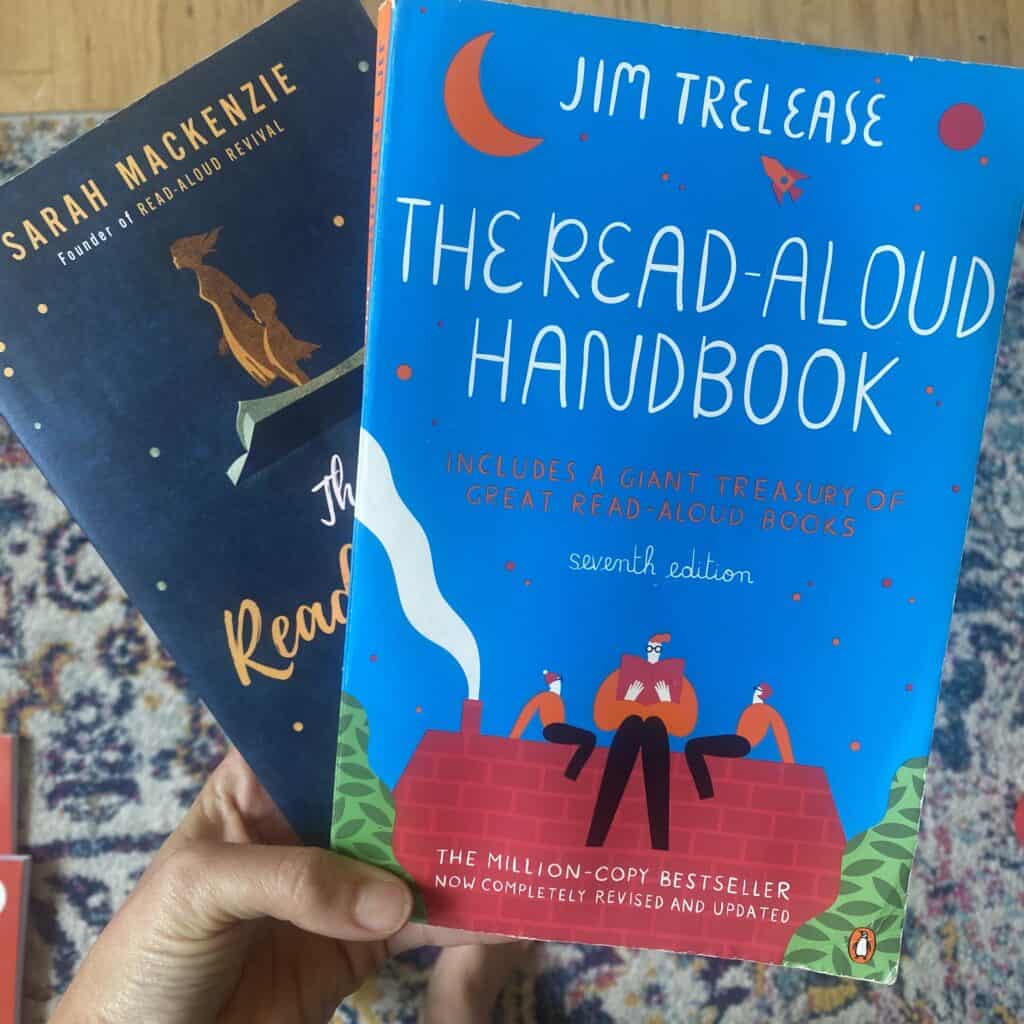
If you want a reeeeeeally long answer, check out the book,Uncovering the Logic of English (Eide). It’s a bit of a snooze-fest because it’s an entire book about the structure of the English language! But, it’s interesting & you’ll have a lot of “ah ha” moments while reading.
How is a phonogram different from a phoneme?
Phoneme = sound Phonogram = symbol
Phonemes are the smallest units of spoken language – they are the sounds that make up a language.
A phonograms is a written symbol used to express a sound. (i.e. the letter or letter combinations)
A grapheme refers to a written character that symbolizes a sound, so phonograms are one type of graphemes. Chinese characters would be an example of a different type of grapheme.
For example, there are 3 phonemes (sounds) in the word “weight”: /w/ – /ā/ – /t/
Those 3 phonemes are represented by 3 phonograms (symbols): w – eigh– t
The second phonogram in the word weight has 4 letters! 🤪
What should my child read as a beginning reader?
NOTEBOOK – At first, your child can just read lists of words. Grab a brand new spiral notebook & call it your child’s special “word notebook.” You or your child can fill it with words and phrases they can read. Just add a few words each day… You don’t even need to organize the lists by sounds.
The child may write the words, but he doesn’t need to write the words. Young children who are eager to read may not be ready to write as quickly as they’re ready to read.
This notebook method is simple & kids love flipping through their notebook to practice.
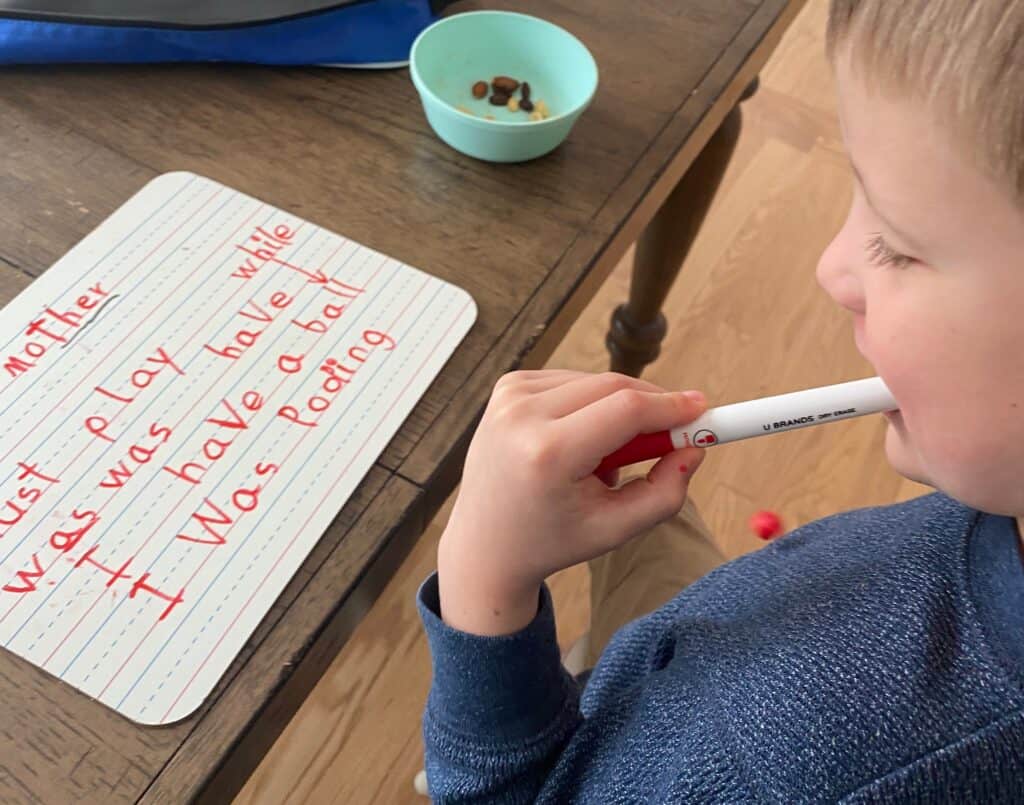
2. DRY ERASE – Mini dry erase boards are our most used school supply. You can write one word at a time for kids to sound out. It’s fun to make silly, simple sentences. “I am a cat.” “That cat is fat.” “I love mom.”
In the picture below, I spoke the beginning sentence and let my 6 year old finish it… He was very pleased with himself on that last sentence. 🙄 Ha!
3. EASY BOOKS – Eventually, grab a few easy reader type books from the library. (Or, if you’ll be teaching multiple kids to read, purchase them as your budget allows.)
4. 100 EASY DAYSPASSAGES – If you want something very systematic, you can start with Teach Your Child to Read in 100 Easy Lessons.It has passages that get increasingly difficult. You don’t have to follow the lessons word for word, but it can still be helpful for a simple way to do leveled passages. We used this to varying degrees with each child, and always covered up the picture while reading the story. After reading it once, our kids seemed to love uncovering the picture – ha! Guess they’re easily amused.
Otherwise, don’t stress about which readers to get. Not every single thing your child reads has to be at the perfect level. The point is for them to practice sounding out words and realize that there are little books they can read by themselves.
Gauge what you give them to read based on their frustration level. If your child gets easily frustrated, use one of the first two options on my list below. They are much shorter and more accessible!
When my oldest child turned 4, she kinda sorta seemed interested in reading. That seemed young to me, but I didn’t know any difference, and we knew a couple other kiddos who started reading at that age.
So I did a few Google searches, grabbed Teach Your Child to Read in 100 Easy Lessons, and hoped for the best.
None of it was perfect! I had never taught anyone to read before, and I didn’t know anything about the philosophical debate between phonics-based vs. balanced literacy. We were often interrupted by another child, and we missed several of the days.
But she learned to read.
And it was like watching the most beautiful glowing lightbulb click on. Her entire world expanded as she realized everything in print was accessible to her.
I still remember how sweet it was to be driving around listening to her sound out the words on all the signs; or watching her realize she could read instructions to a new game; all of the library book covers suddenly weren’t just pictures.
You don’t have to execute any of this perfectly. All of my tips & resources are meant to be guidelines to help you in the journey. But, don’t let perfectionism get in the way.